メールソフトを使用して学外からメールを送信する場合は以下2つの設定を行います。
●SMTP-AUTH機能を有効にする
メールソフトにて送信SMTPポートを「25」から「
587」へ変更します。
●POP Before SMTP機能を有効にする
メールソフトによっては、この機能が無い場合があります。
その場合は、
メールを10~15分間隔で自動受信させるよう設定します。
以下に、代表的なメールソフトでの設定例を説明します。
メールソフトの設定方法は、
「電子メール関連資料」等をご確認ください。
| Outlook2013 | Windows Liveメール | Mozilla Thunderbird | メール9.2(MacOS X) | Outlook 2016 for Mac |
[Outlook2013の場合]
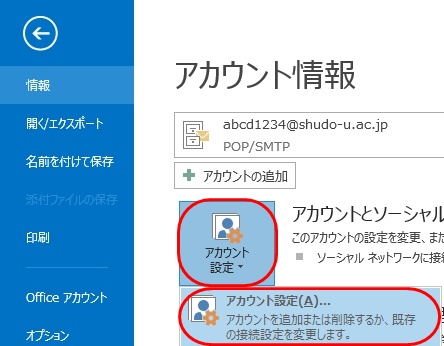
1.Outlook2013を起動し、「ファイル」-「アカウント設定」-「アカウント設定」をクリックします。
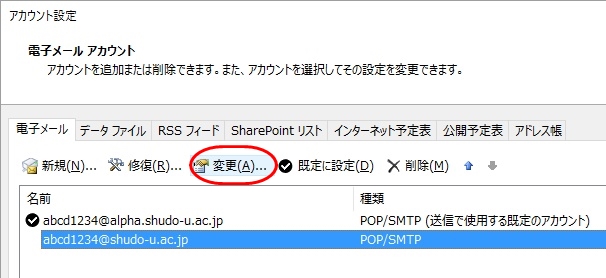
2.作成済みのns1用アカウント名を選択し、「変更」をクリックします。
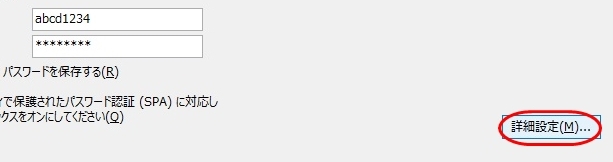
3.「詳細設定」をクリックします。
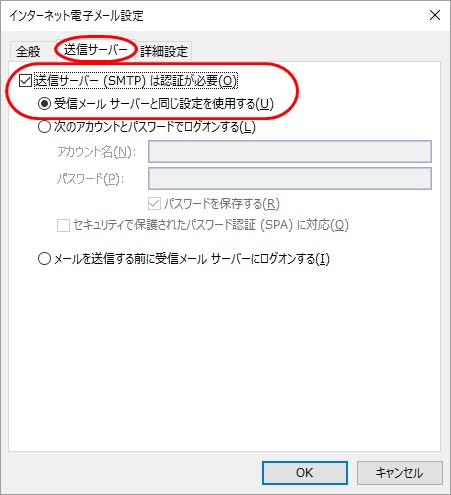
4.「送信サーバー」タブをクリックし、「送信サーバー(SMTP)は認証が必要」をチェックします。
次に、「受信メールサーバーと同じ設定を使用する」をチェックします。
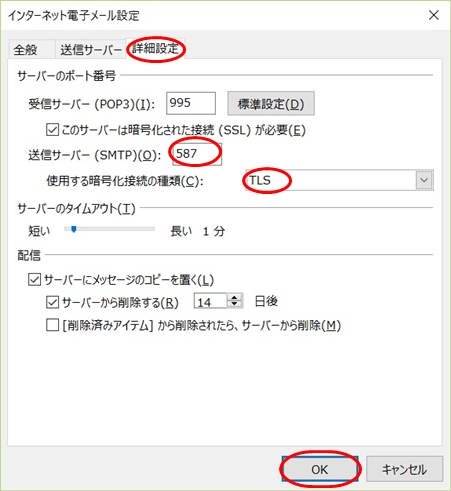
5.「詳細設定」タブをクリックし、「送信サーバー(SMTP)」に「587」を入力します。
さらに、使用する暗号化接続の種類を「TLS」に設定します。
設定後「OK」を押します。
手順3の画面が表示されたら「次へ」をクリックし、「完了」ボタンを押します。
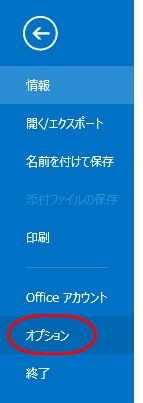
6.「ファイル」-「オプション」をクリックします。
7.オプションメニューから「詳細設定」を選択し、「送受信」をクリックします。

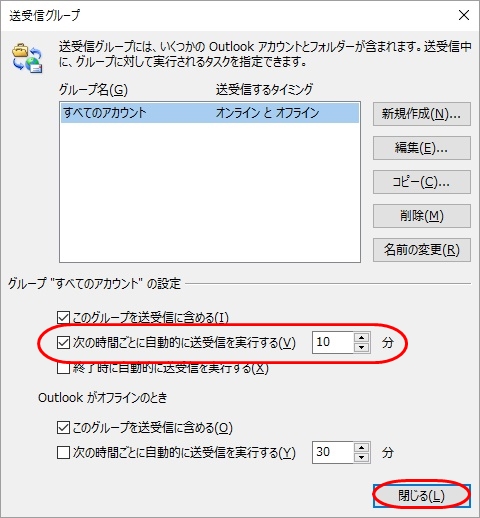
8.☑ 「次の時間ごとに自動同期をする」 ○○分
設定したら、「閉じる」をクリックします。
[Windows Liveメールの場合]
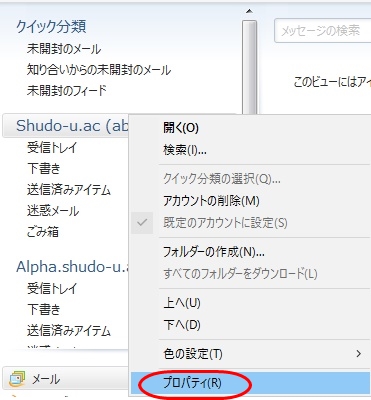
1.作成済みのns1用アカウント名を右クリックし、「プロパティ」をクリックします。
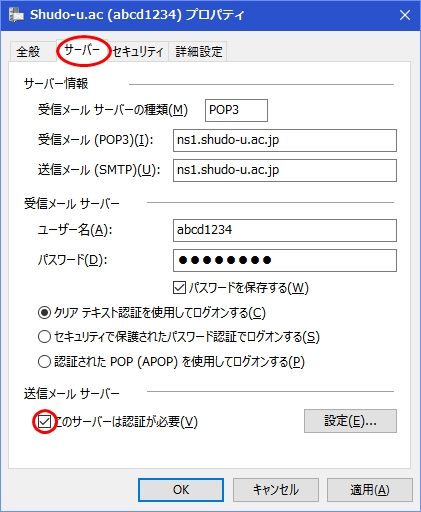
2.「サーバー」タブをクリックし、「このサーバーは認証が必要」をチェックします。
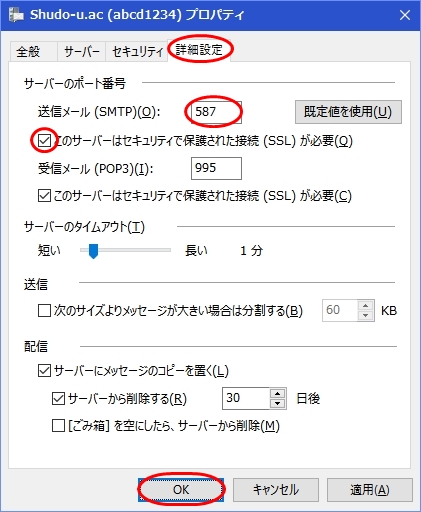
3.「詳細設定」タブ
「送信メール(SMTP)」:「587」
☑このサーバーはセキュリティで保護された接続(SSL)が必要
設定が完了したら「OK」をクリックします。
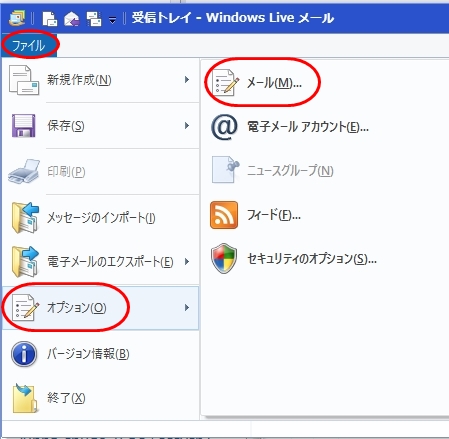
4.次に、画面左上の「ファイル」-「オプション」-「メール」をクリックします。
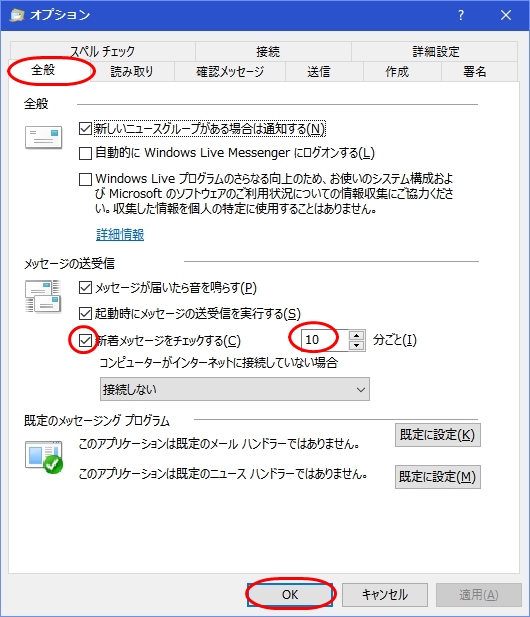
5.「全般」タブをクリックします。
☑「新着メッセージをチェックする」 ○分ごと(通常10分)
設定したら「OK」をクリックします。
[Mozilla Thunderbirdの場合]
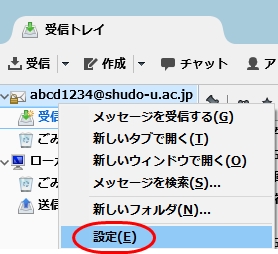
1.作成済みのns1用アカウント名を右クリックし、「設定」をクリックします。
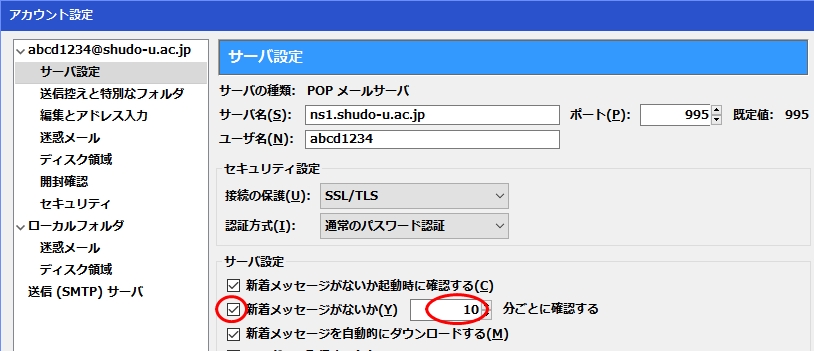
2.左側メニューのサーバ設定
☑「新着メッセージがないか○分ごとに確認する」(初期値10分)
3.左側メニューの送信(SMTP)サーバ
サーバを選択し、「編集」をクリックします。
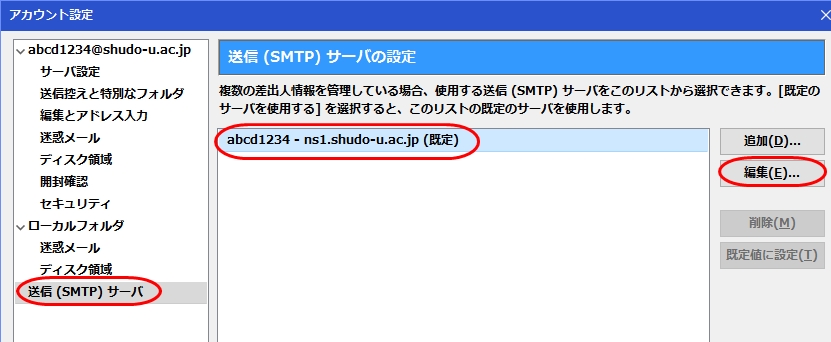
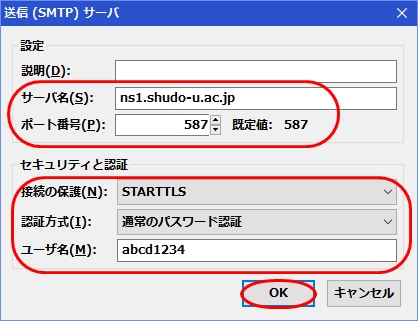
4.各値を確認し、「OK」をクリックします。
サーバ名:ns1.shudo-u.ac.jp
ポート番号:587
接続の保護:STARTTLS
認証方式:平文のパスワード認証
ユーザ名:ns1のユーザID
[メール9.2(MacOS Xの場合]
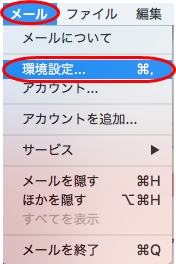
1.「メール」-「環境設定」をクリックします。
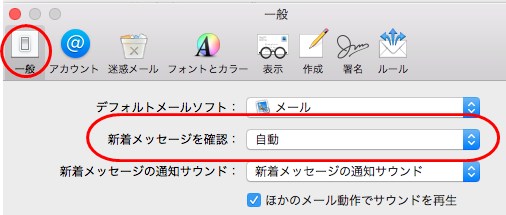
2.「一般」をクリックし、「新しいメッセージを確認」を設定します。
新しいメッセージを確認:○分ごと(初期値自動)
3.「アカウント」のサーバ設定タブを開きます。
送信用メールサーバ(SMTP)
ユーザ名:ns1のユーザID
パスワード:ns1のパスワード
ホスト名:ns1.shudo-u.ac.jp
□「接続設定を自動的に管理」
ポート:「587」 ☑ 「TLS/SSLを使用」
認証:「パスワード」
変更したら「保存」をクリックします。

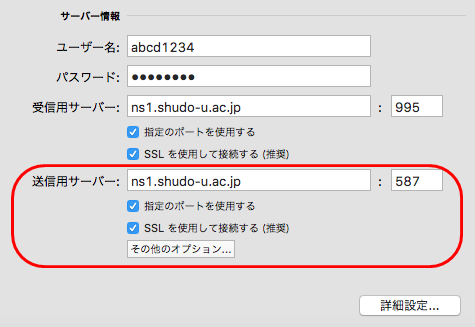
[Outlook 2016 for Macの場合]
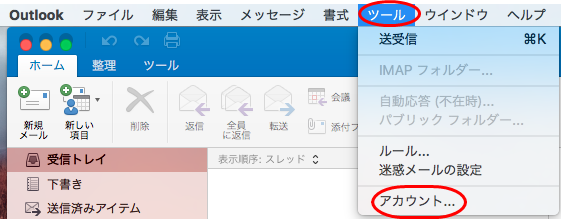
1.「ツール」-「アカウント」をクリックします。
2.送信用サーバー:ns1.shudo-u.ac.jp:587
☑指定のポートを使用する
☑SSLを使用して接続する(推奨)
変更したら最下部にある「その他のオプション」をクリックします。
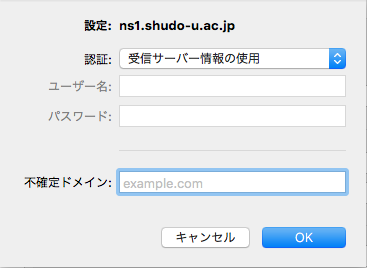
3.「認証」欄を「受信サーバー情報の使用」に変更し、「OK」をクリックします。
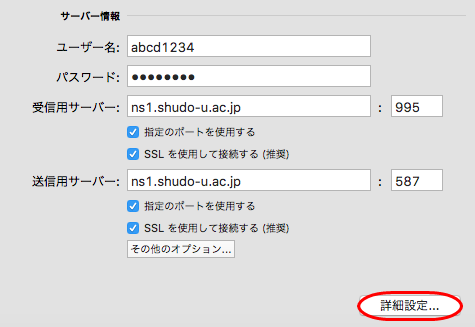
4.次に、「詳細設定」をクリックします。
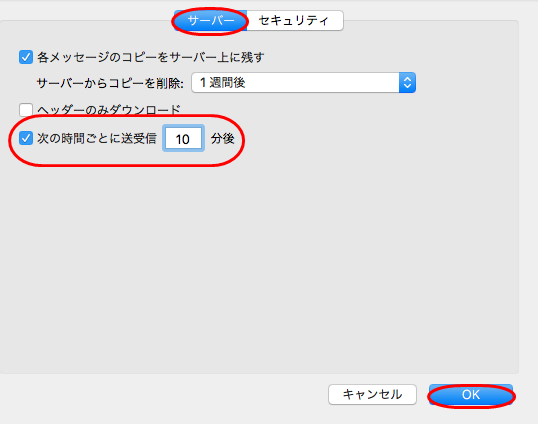
5.「サーバー」タブ
☑「次の時間ごとに送受信」: ○分後
設定したら「OK」をクリックします。